Protocol Download Links
ChirpStack #
Set up #
- Before accessing the ChirpStack console, you must install it on your machine. See instructions on this at https://www.chirpstack.io/docs/
- Once you have this set up, access the console.
- Default login should be admin:admin but should be changed upon login.
- To add a gateway, select ’Gateways’ and press ’Create’.
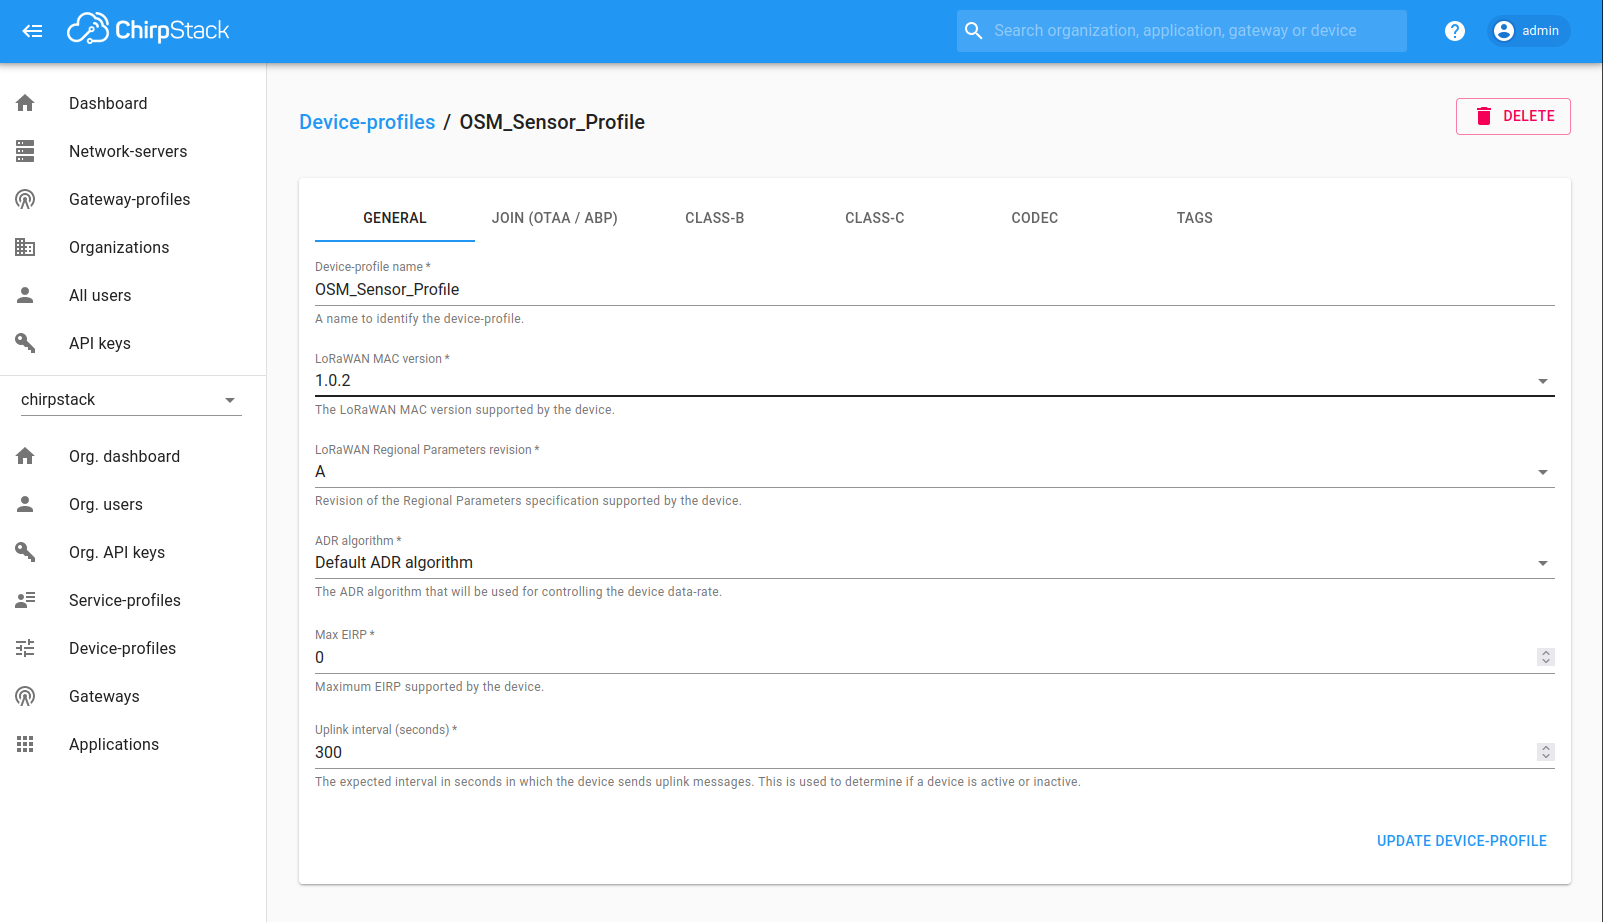
- You will need a device profile, navigate to ’Device-profiles’ on the left panel of the console. Fill in all of the fields under the ’General’ tab.
Download the Javascript Protocol
- To submit a custom JaveScript decoder, navigate to the Codec tab in Device- Profiles
- Choose Customer JavaScript Codec functions and enter the script, finally select ‘Up-date Device-Profile’.
- Give the gateway ID, network server, service profile and gateway profile.
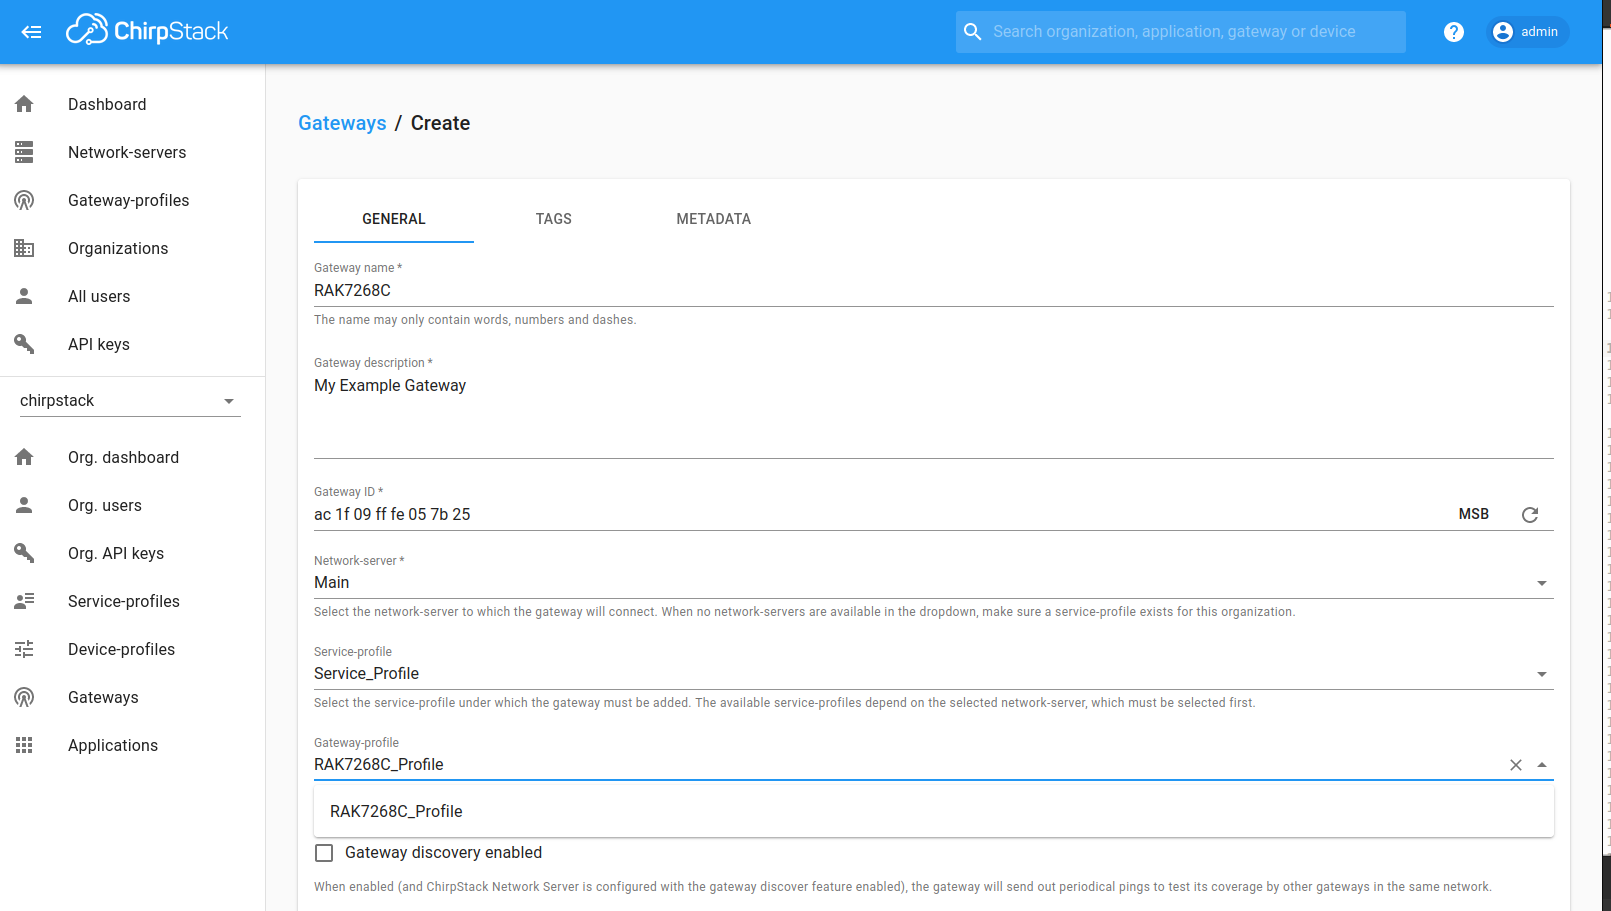
- ‘Gateway discovery enabled’ should be unchecked
- The location can be set manually here if not set on the gateway
- Click Save and Apply
- Refresh the page until you see that there has been communication with the gateway
Add Devices #
- Select Applications in the left hand panel
- Select ‘Create’ and provide a name, description and provide a service profile
- Within your application, you can add integration’s such as database to store your device data
- To add a device, select ‘Create’ within your application
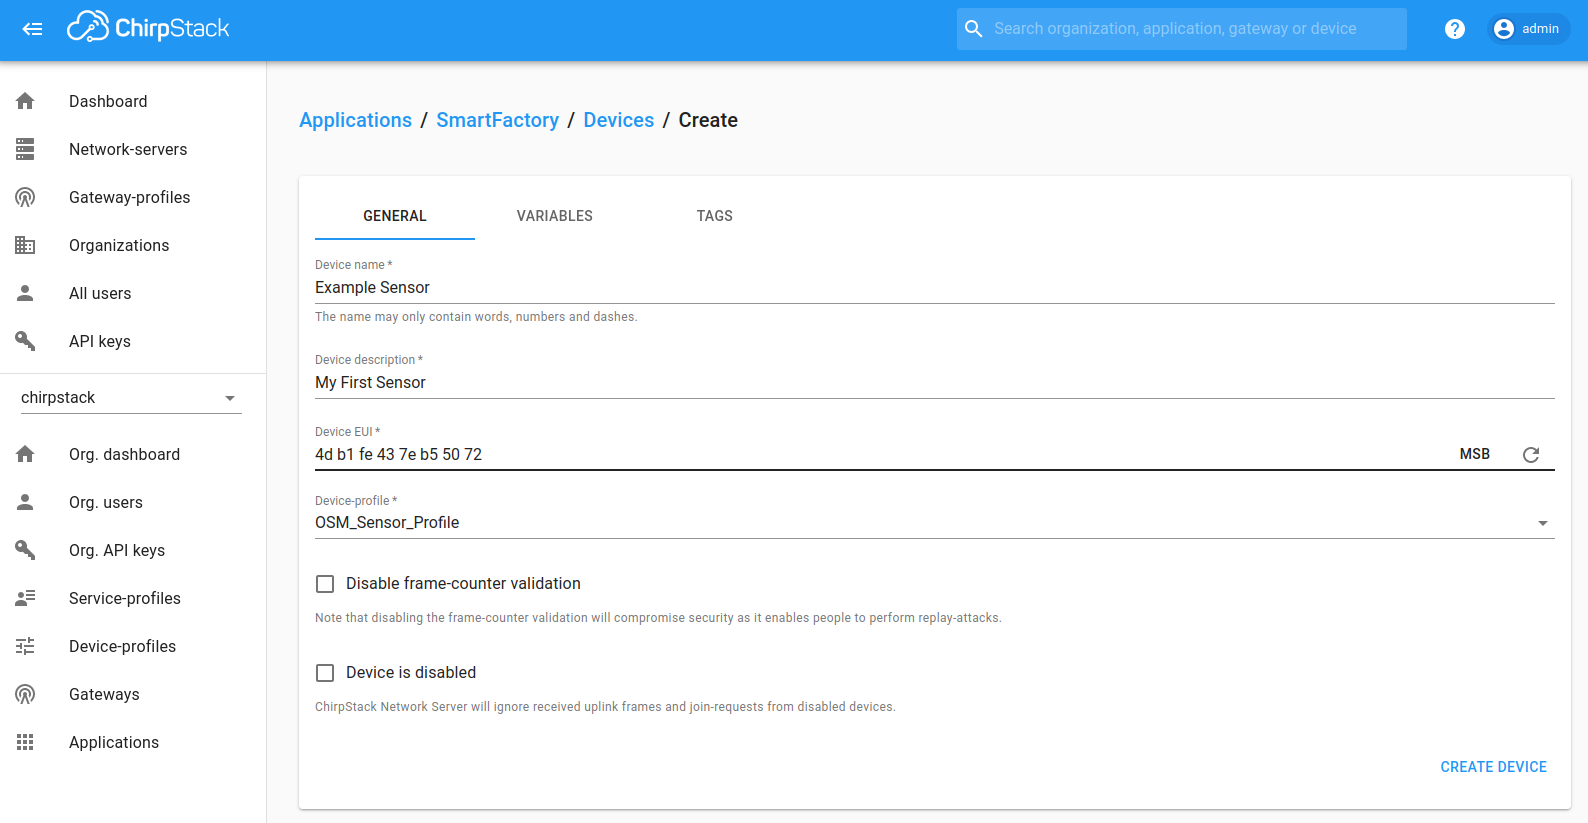
- Fill in the required fields and select ‘create device’
- In the next window, generate an application key and select ‘set device-keys
TheThingsNetwork #
Set up #
- Access The Things Stack console at https://console.cloud.thethings.network
- Select a cluster depending on your location e.g Europe 1
- You will need to register your gateway, you can do this by navigating to ’Go to gateways’
- Select ‘Register Gateway’

- Provide an Owner and the Gateway EUI
- Provide a gateway name and select a frequency plan
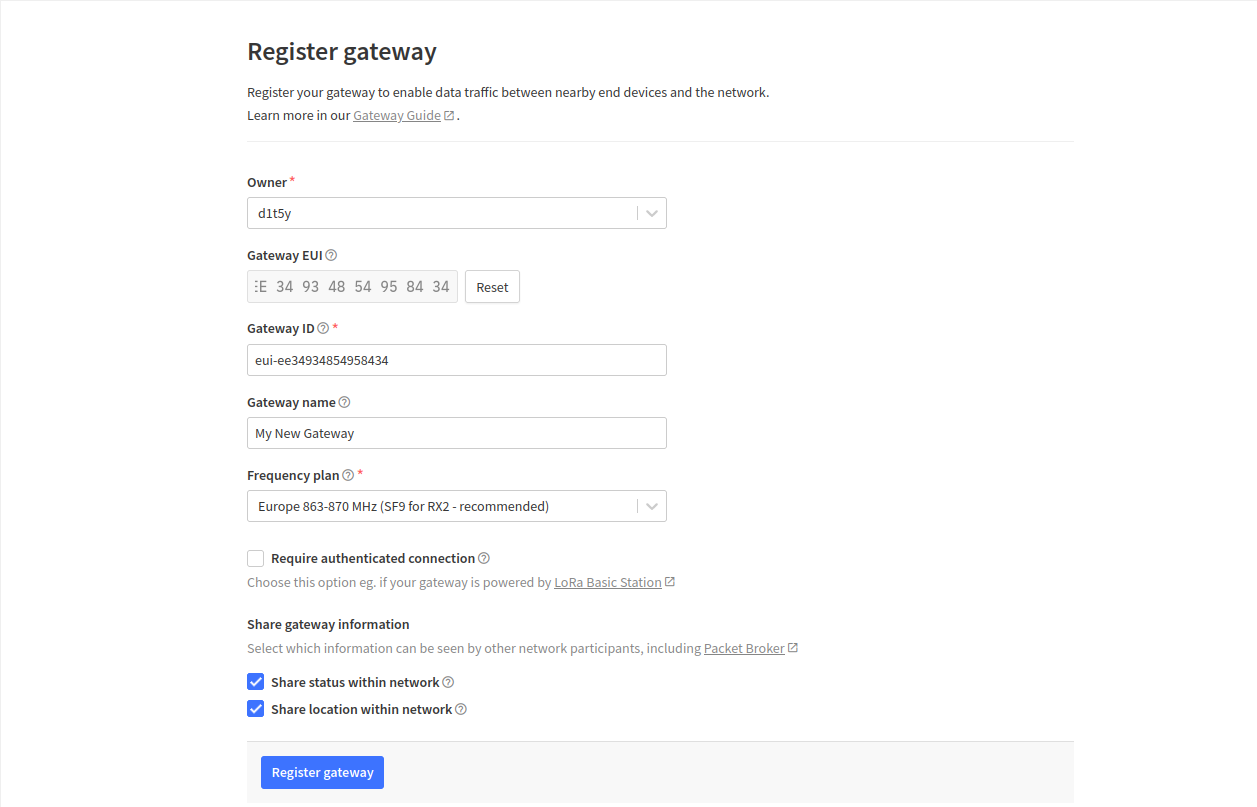
- Check the documentation of your gateway provider for any additional configuration you may need to connect your gateway
Add devices #
- Select the ‘Applications’ header followed by ‘Add application’
- Provide an Owner. Application ID, Application name and Description
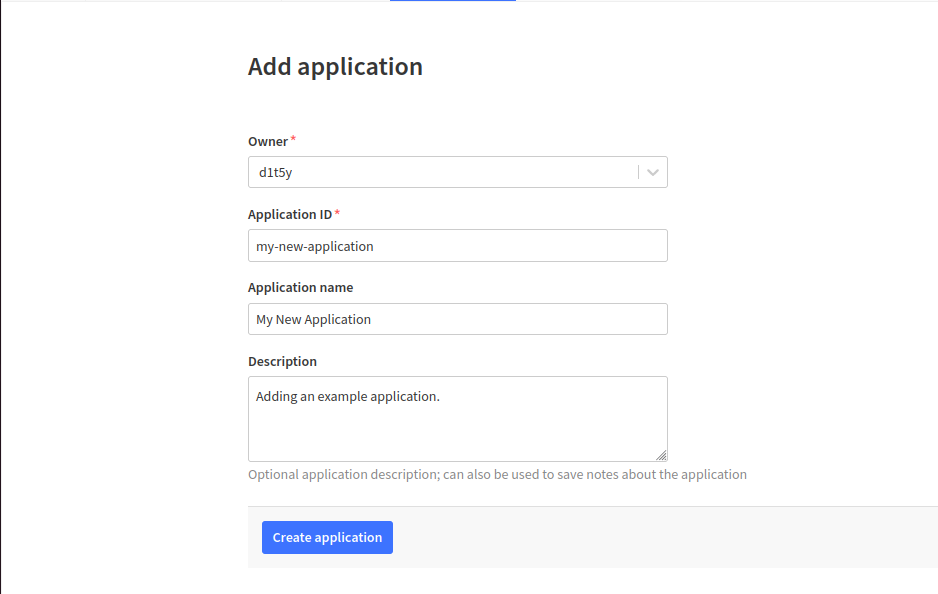
- Your application should have been created. Inside it select ‘Add end device’
- To add the devices configuration, select the heading ‘Manually’
- Provide a frequency plan, select LoRaWAN version 1.0.0
- Generate or enter the DevEUI and AppEUI of the sensor. Note this down
- The AppEUI should be the same as the DevEUI
- Generate or enter the AppKey of the device. Note this down
- Select ‘Register end device’ to finalise
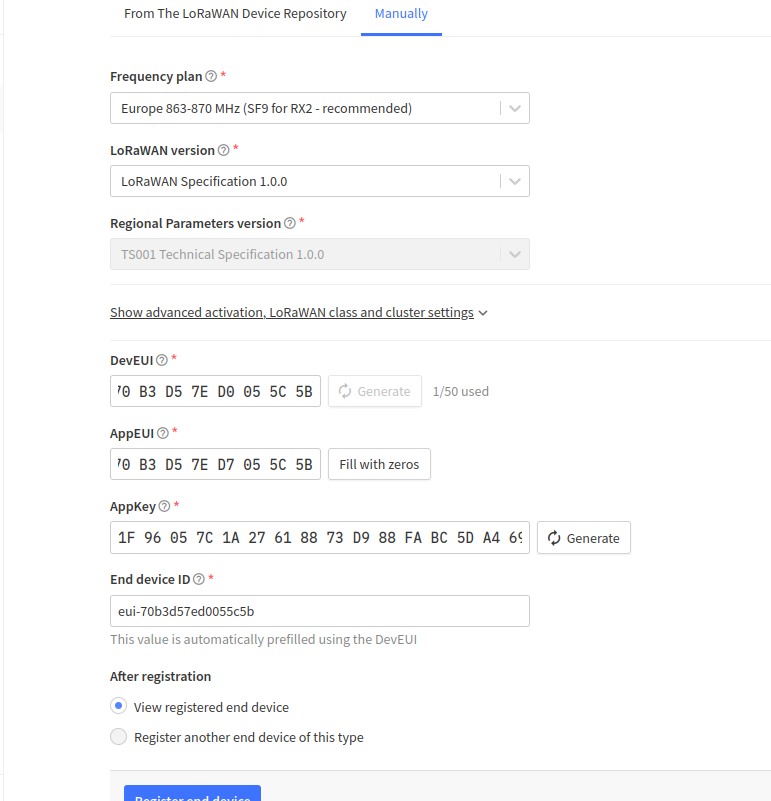
- You should see activity on the overview page if the gateway and device are alive
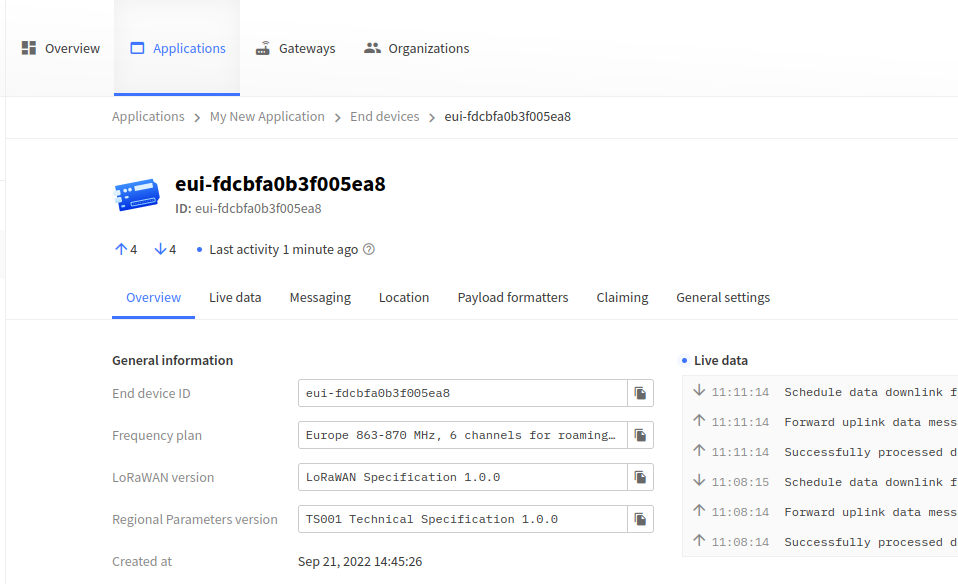
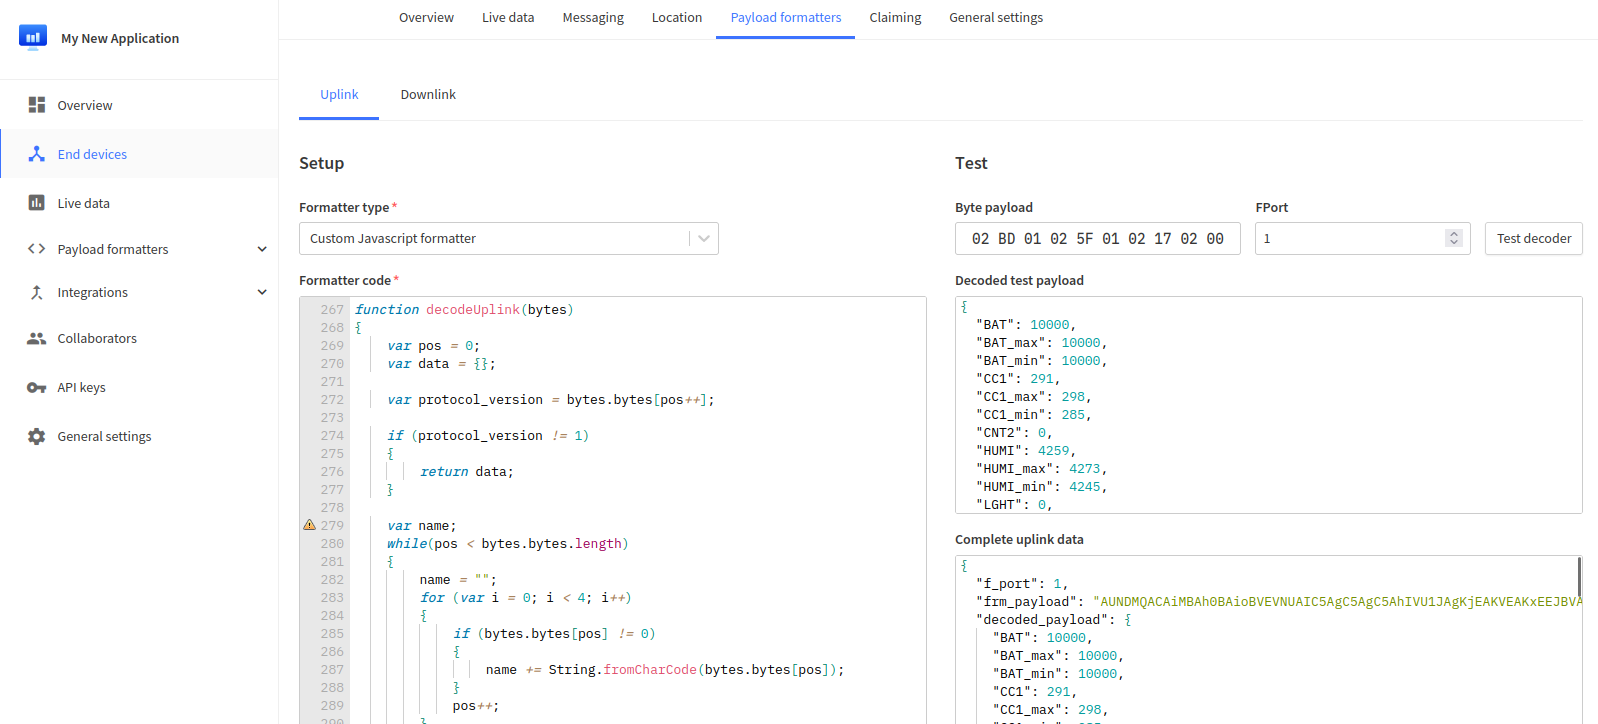
- To submit the protocol to decode data from your device, head to ’Payload Formatters’ on the left panel and select ’Uplink’
- Select Custom JavaScript formatter under ’Formatter Type’
- To apply this protocol to each device, go to ’End Devices’ – ’Payload Formatters’ – ’Uplink’ – ’Formatter type’ (Custom Javascript formatter) – ’Paste Application formatter’ – ’Save changes’
Helium #
Set up #
- Open up the helium console at https://console.helium.com
- Sign up. You will be asked to verify your email address, the link from this email will redirect you to the console
- Create an organisation when prompted to
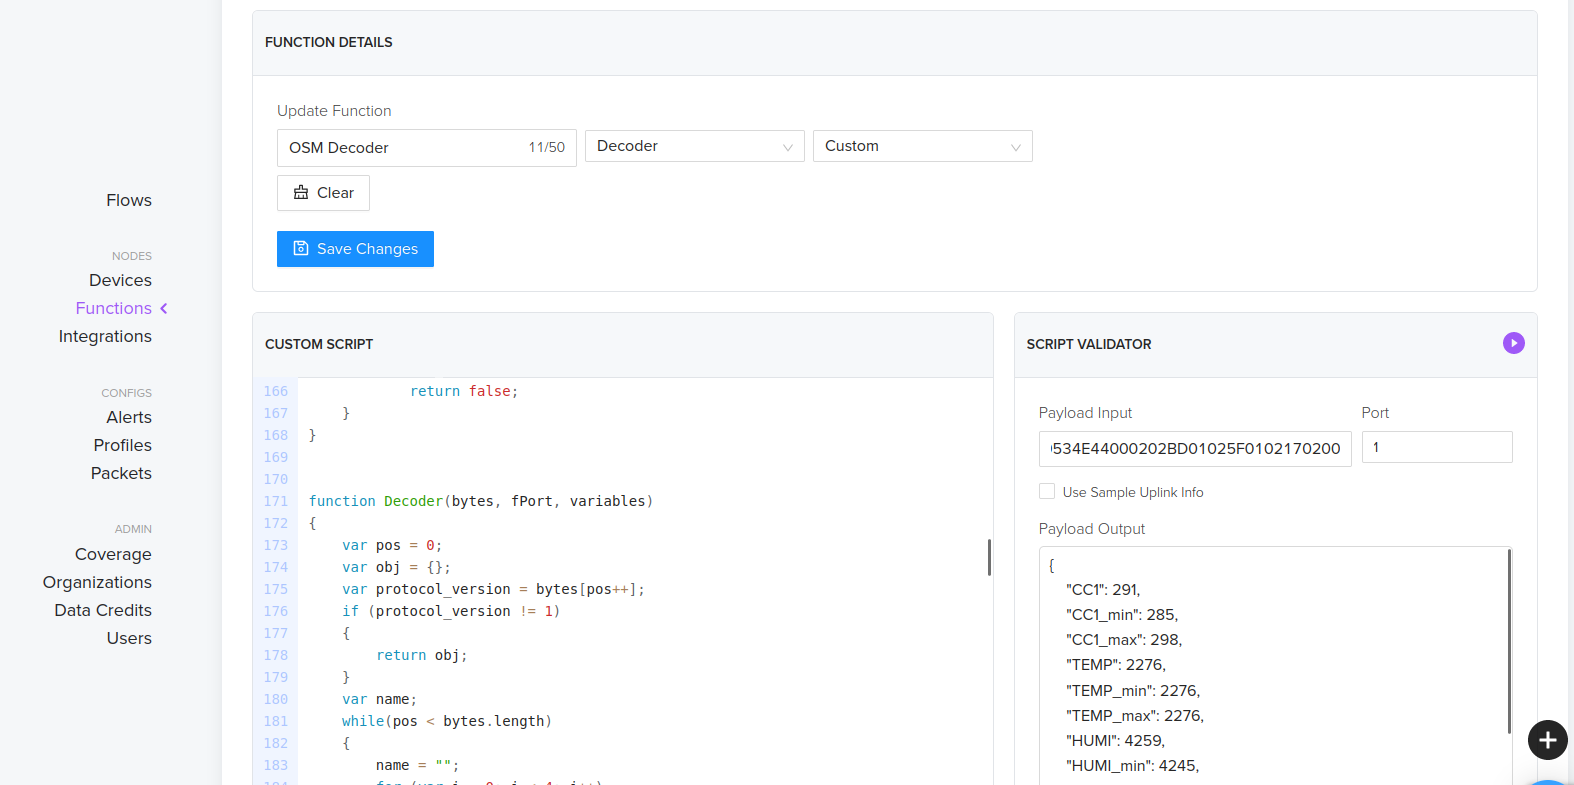
- To add a custom JavaScript protocol, navigate to ’Functions’ under ’Nodes’ and enter the custom script
Add devices #
- To add a device – select ‘Devices’ under ‘Nodes’ and choose ‘Add New Device’
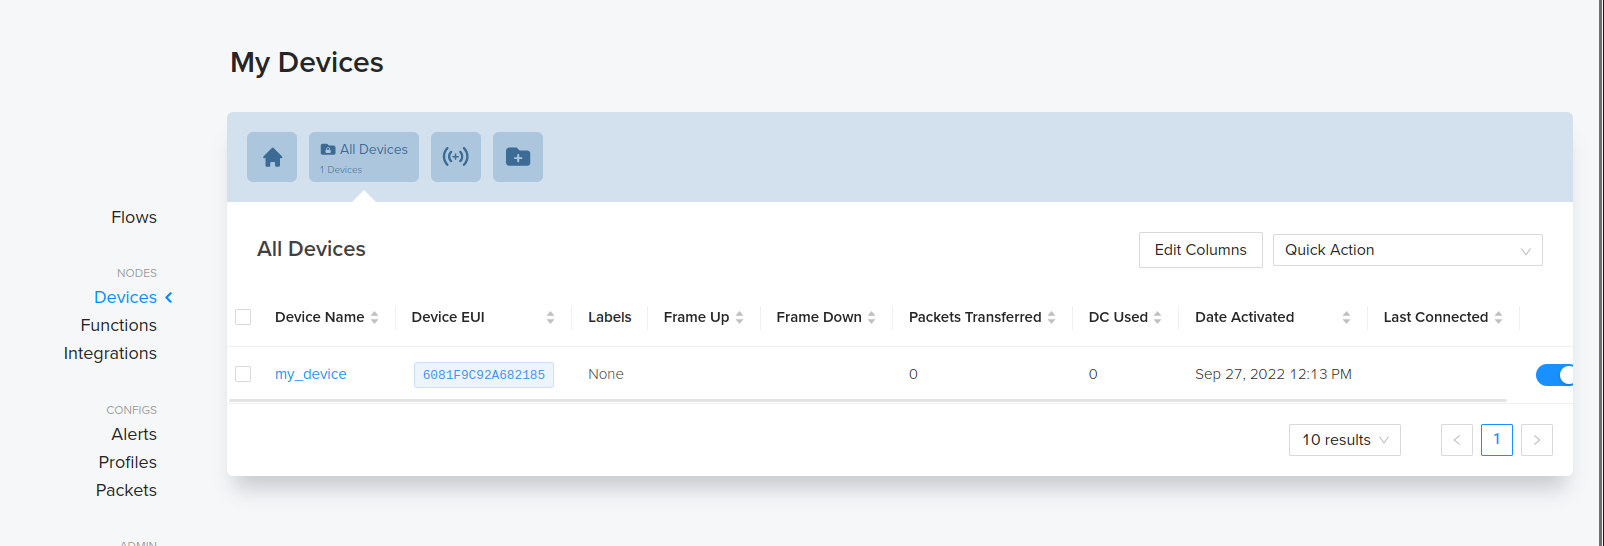
- Give the device a mane, Dev EUI, App Key and fill the App EUI with zeros
- Press Save Device
- In order for the device to connect, the sensor must be within range of Heliums Hotspot coverage
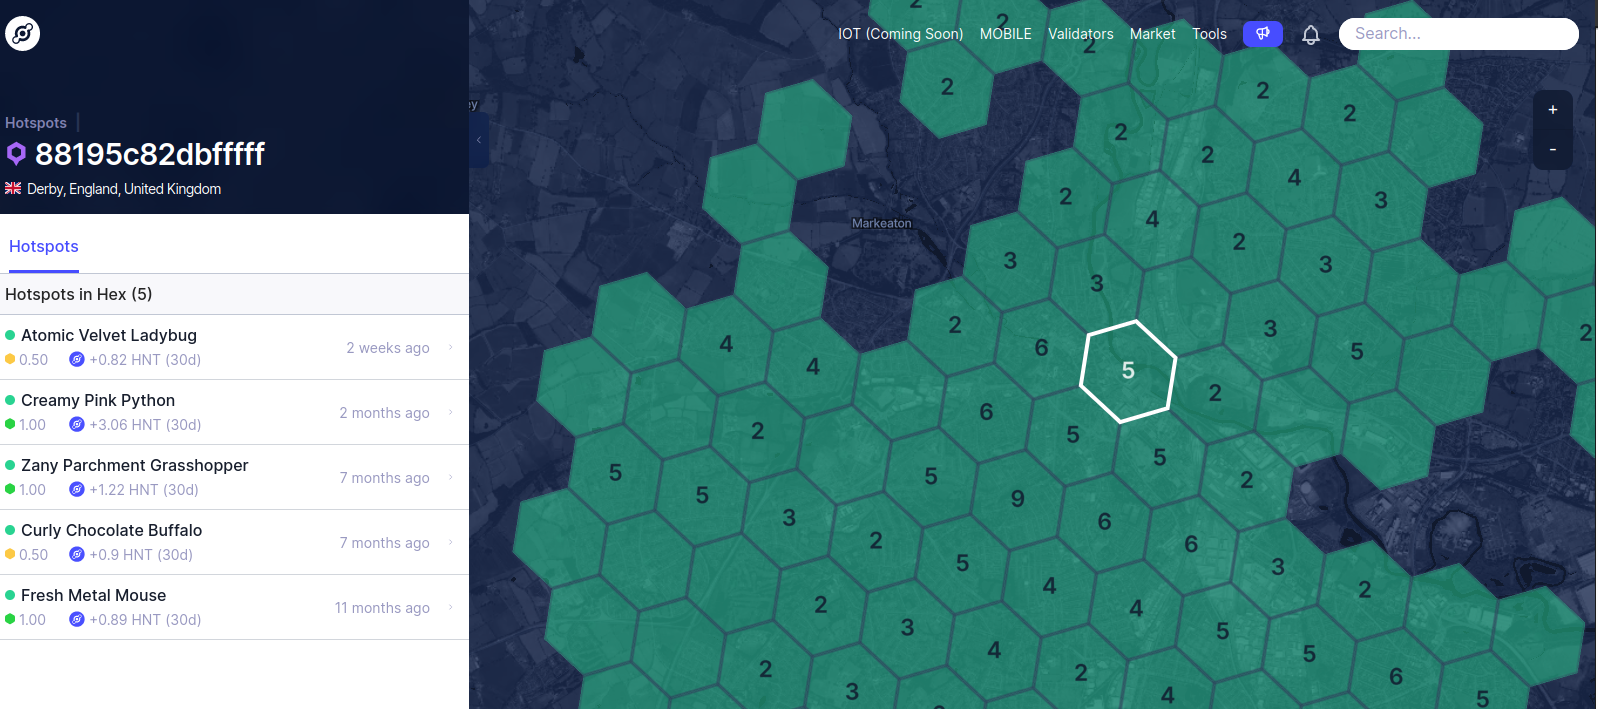
- Explore hotspots at https://explorer.helium.com/
